In general, we can draw a parallel between the paddle and the car in order to better understand the differences between materials and variations in …


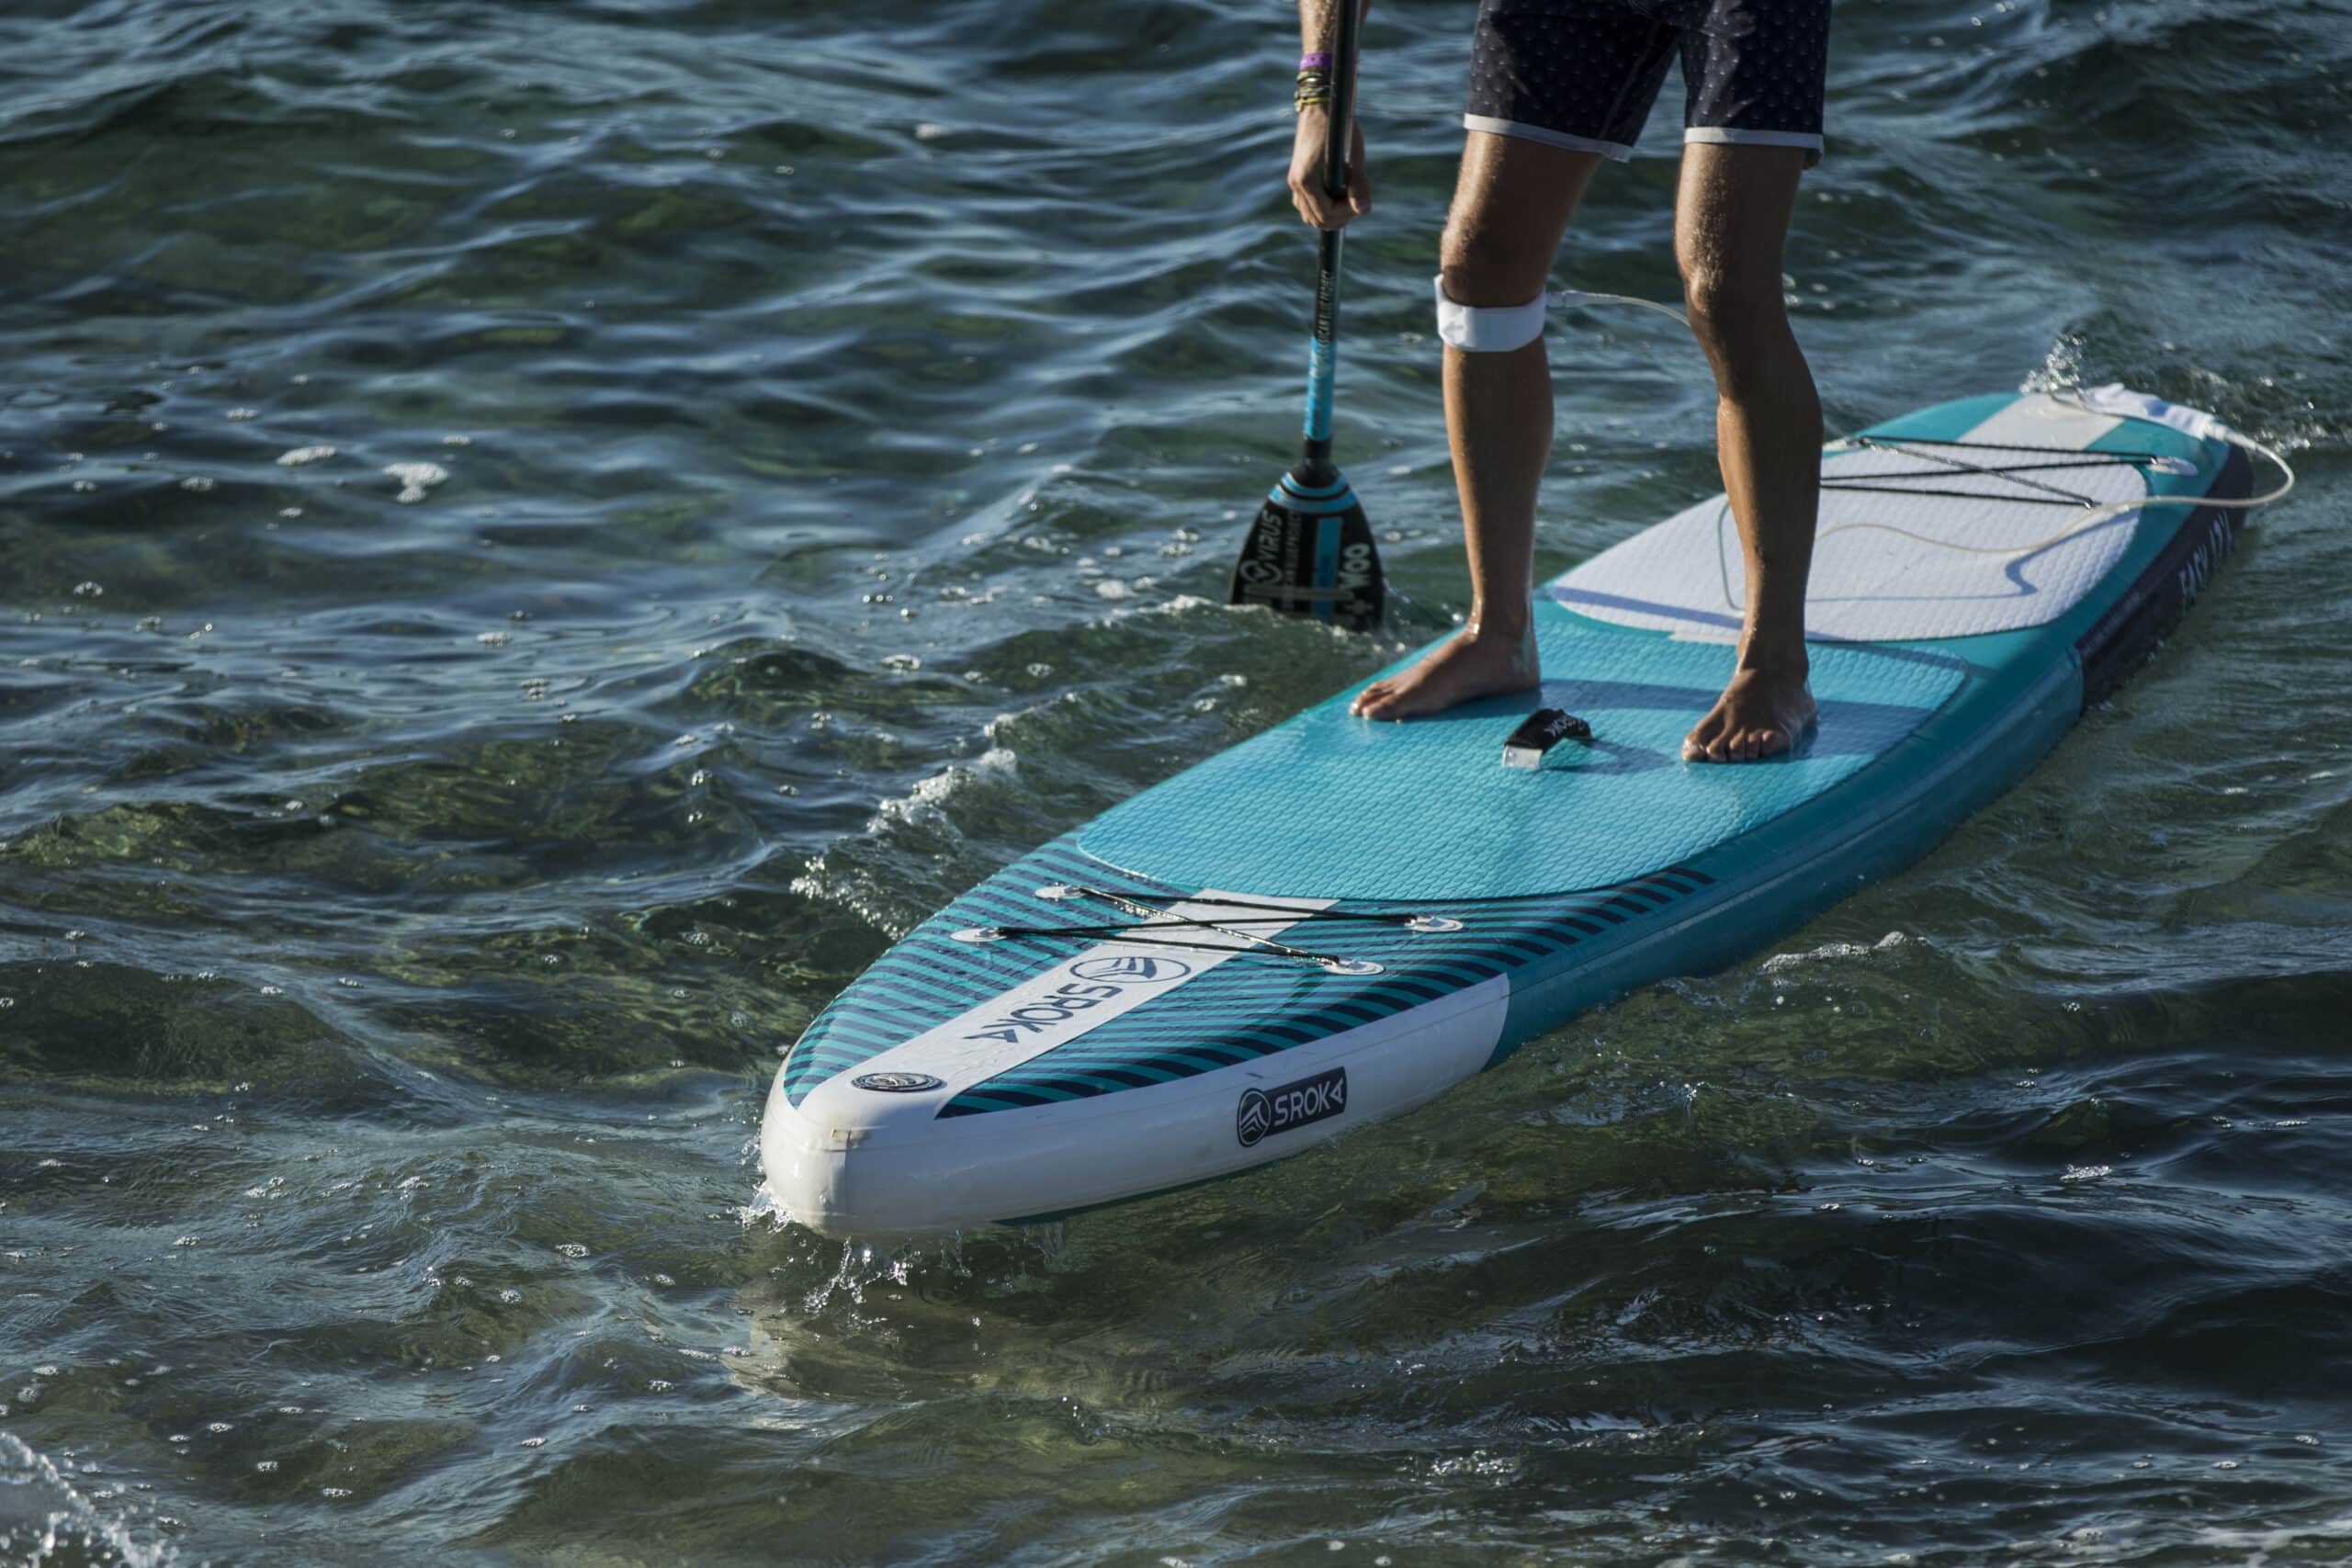
For more than 10 years now, inflatable stand up paddle boarding continues to develop and spread on French beaches. Beyond the fun aspect of the …
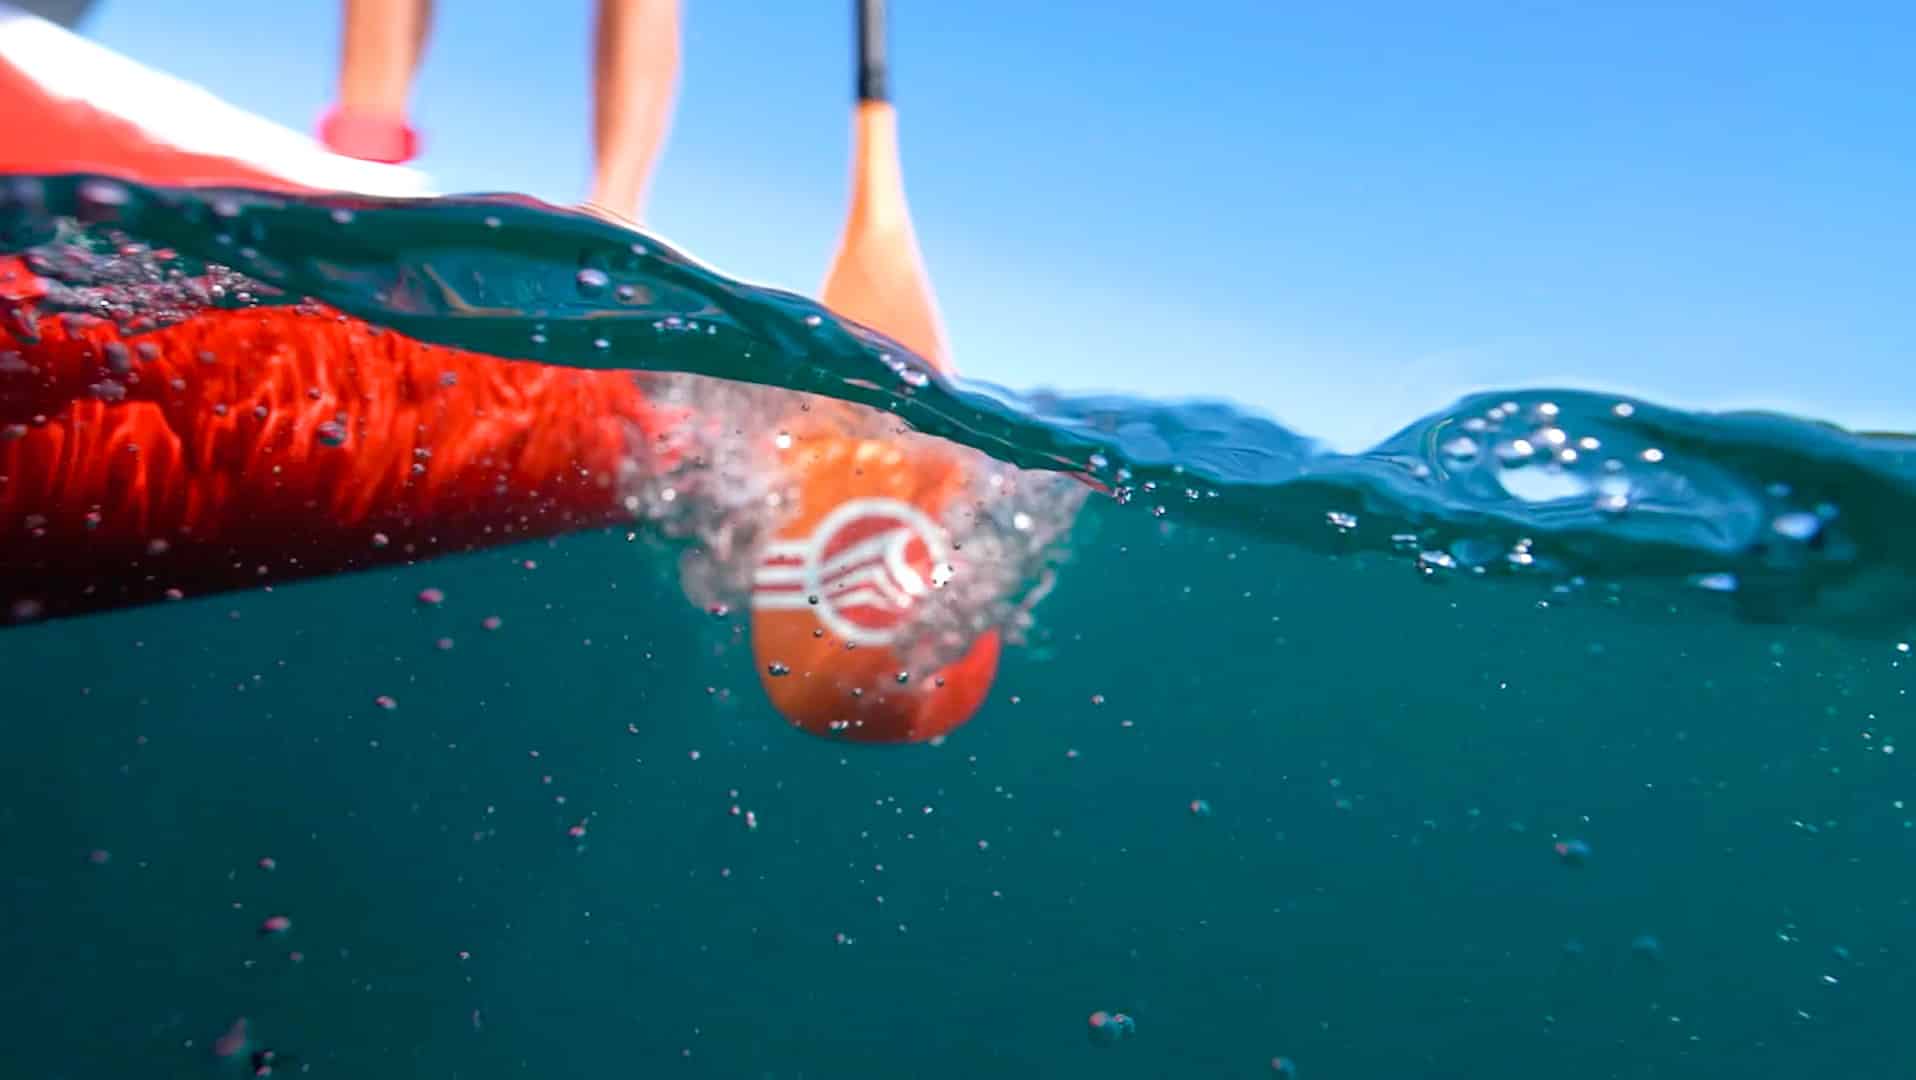
Are you looking for an inflatable paddle board for the summer to sail at sea or in lakes? The inflatable paddle board really has a …

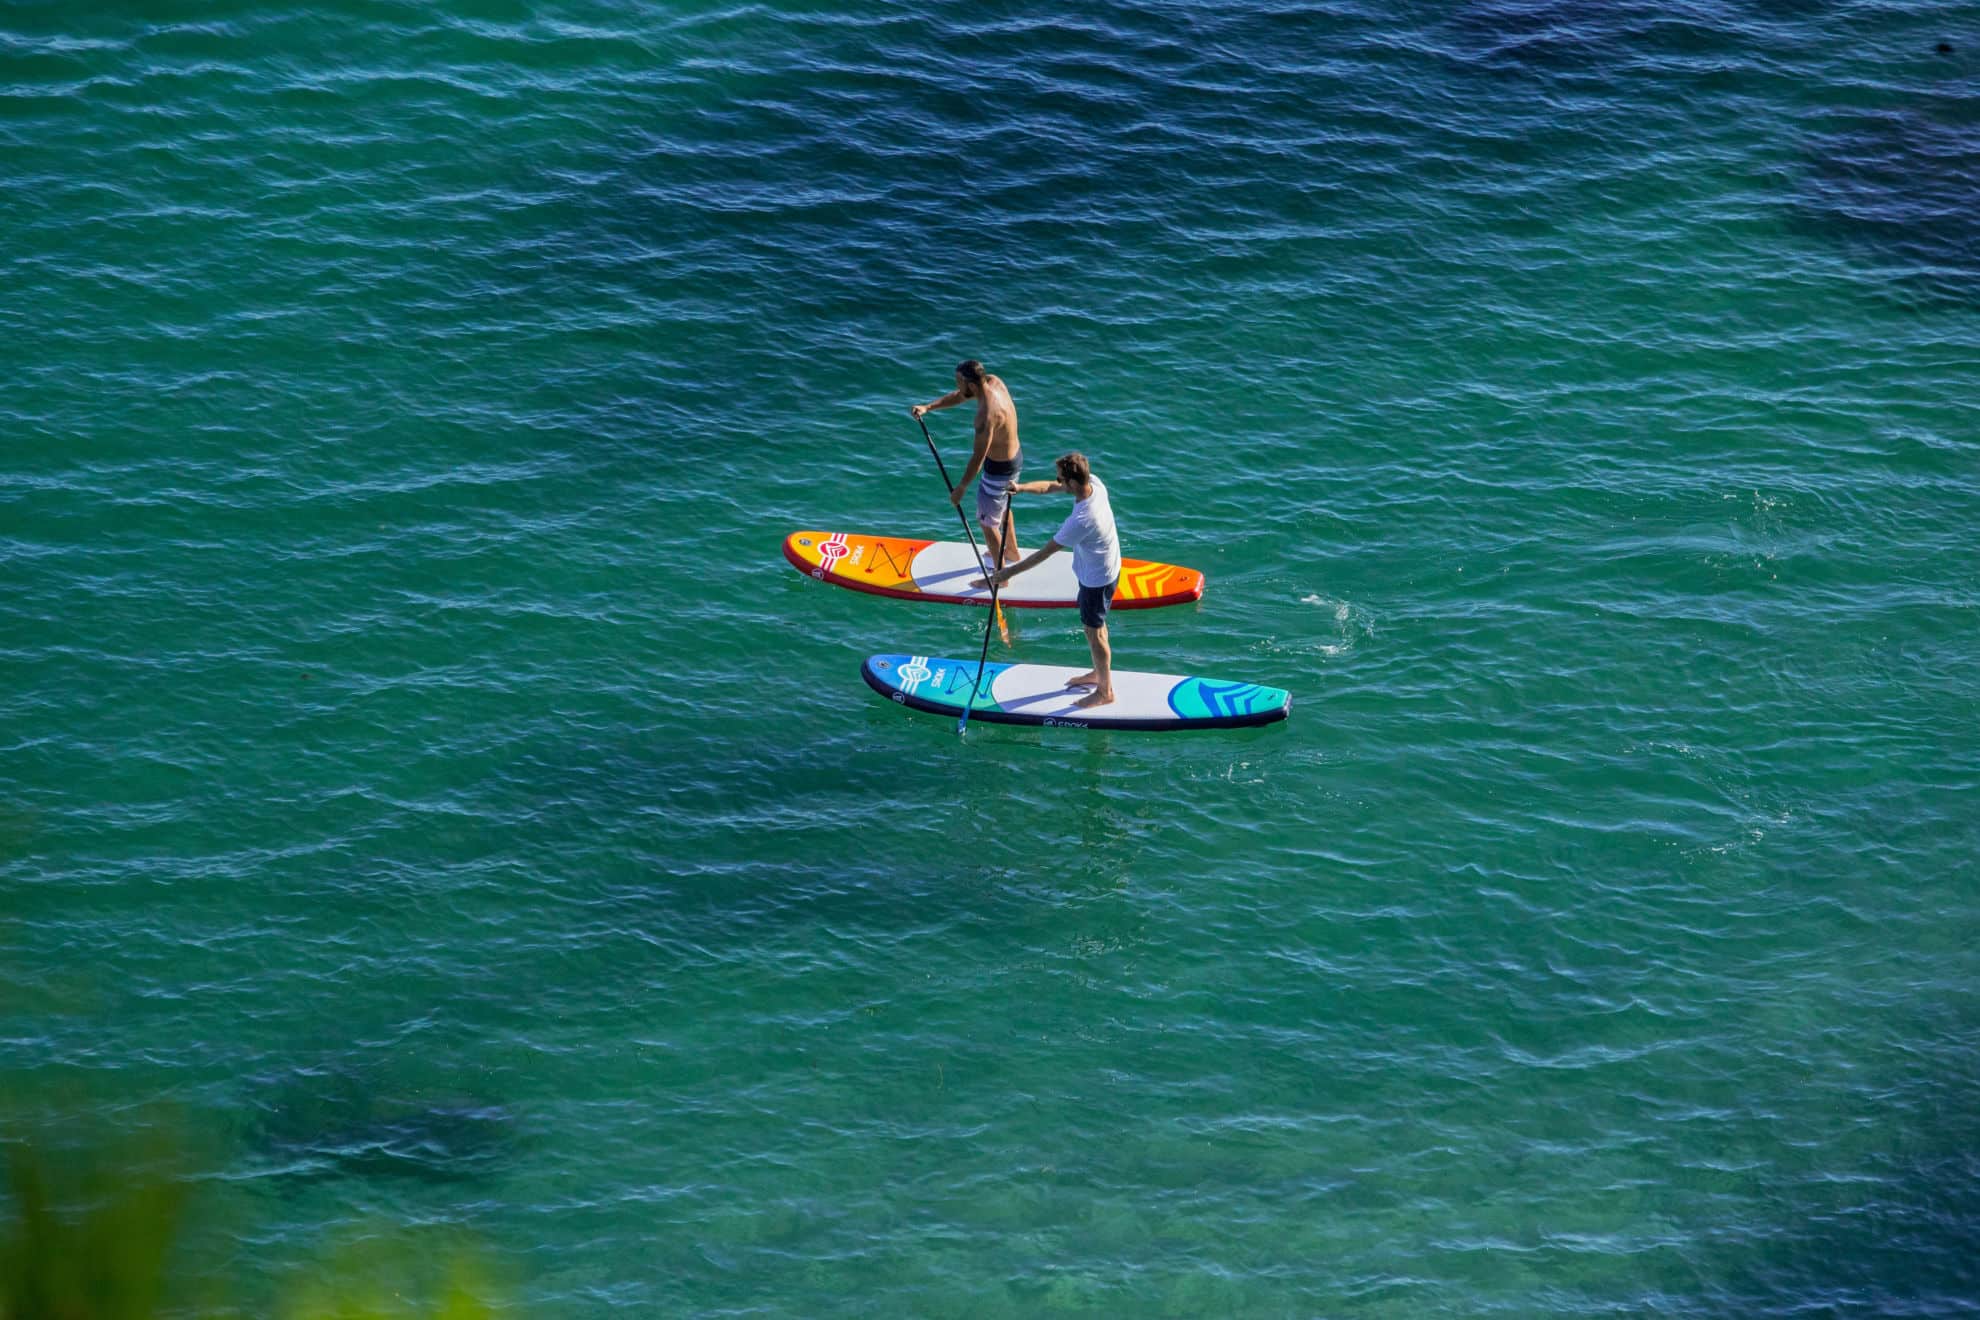
Paddle boarding, no need to introduce it, it is a water sport that allows you to move with a board and a paddle on the …