How do I tack a Wingfoil?
In this article we explain step-by-step how to make a frontside and backside tack.
First of all, here is the vocabulary you need to know to understand this article:
- Heelside: This is the “normal” riding position. The heels point into the wind and the toes downwind of the board. Body weight is therefore directed into the wind.
- Toeside: Sailing by switching the position of the feet with the weight of the body on the toes. This position is often used to change direction or to sail against the wind. The position of the feet is reversed from the normal sailing position. The front foot becomes the back foot and vice versa.
Prerequisites for wingfoil tacking
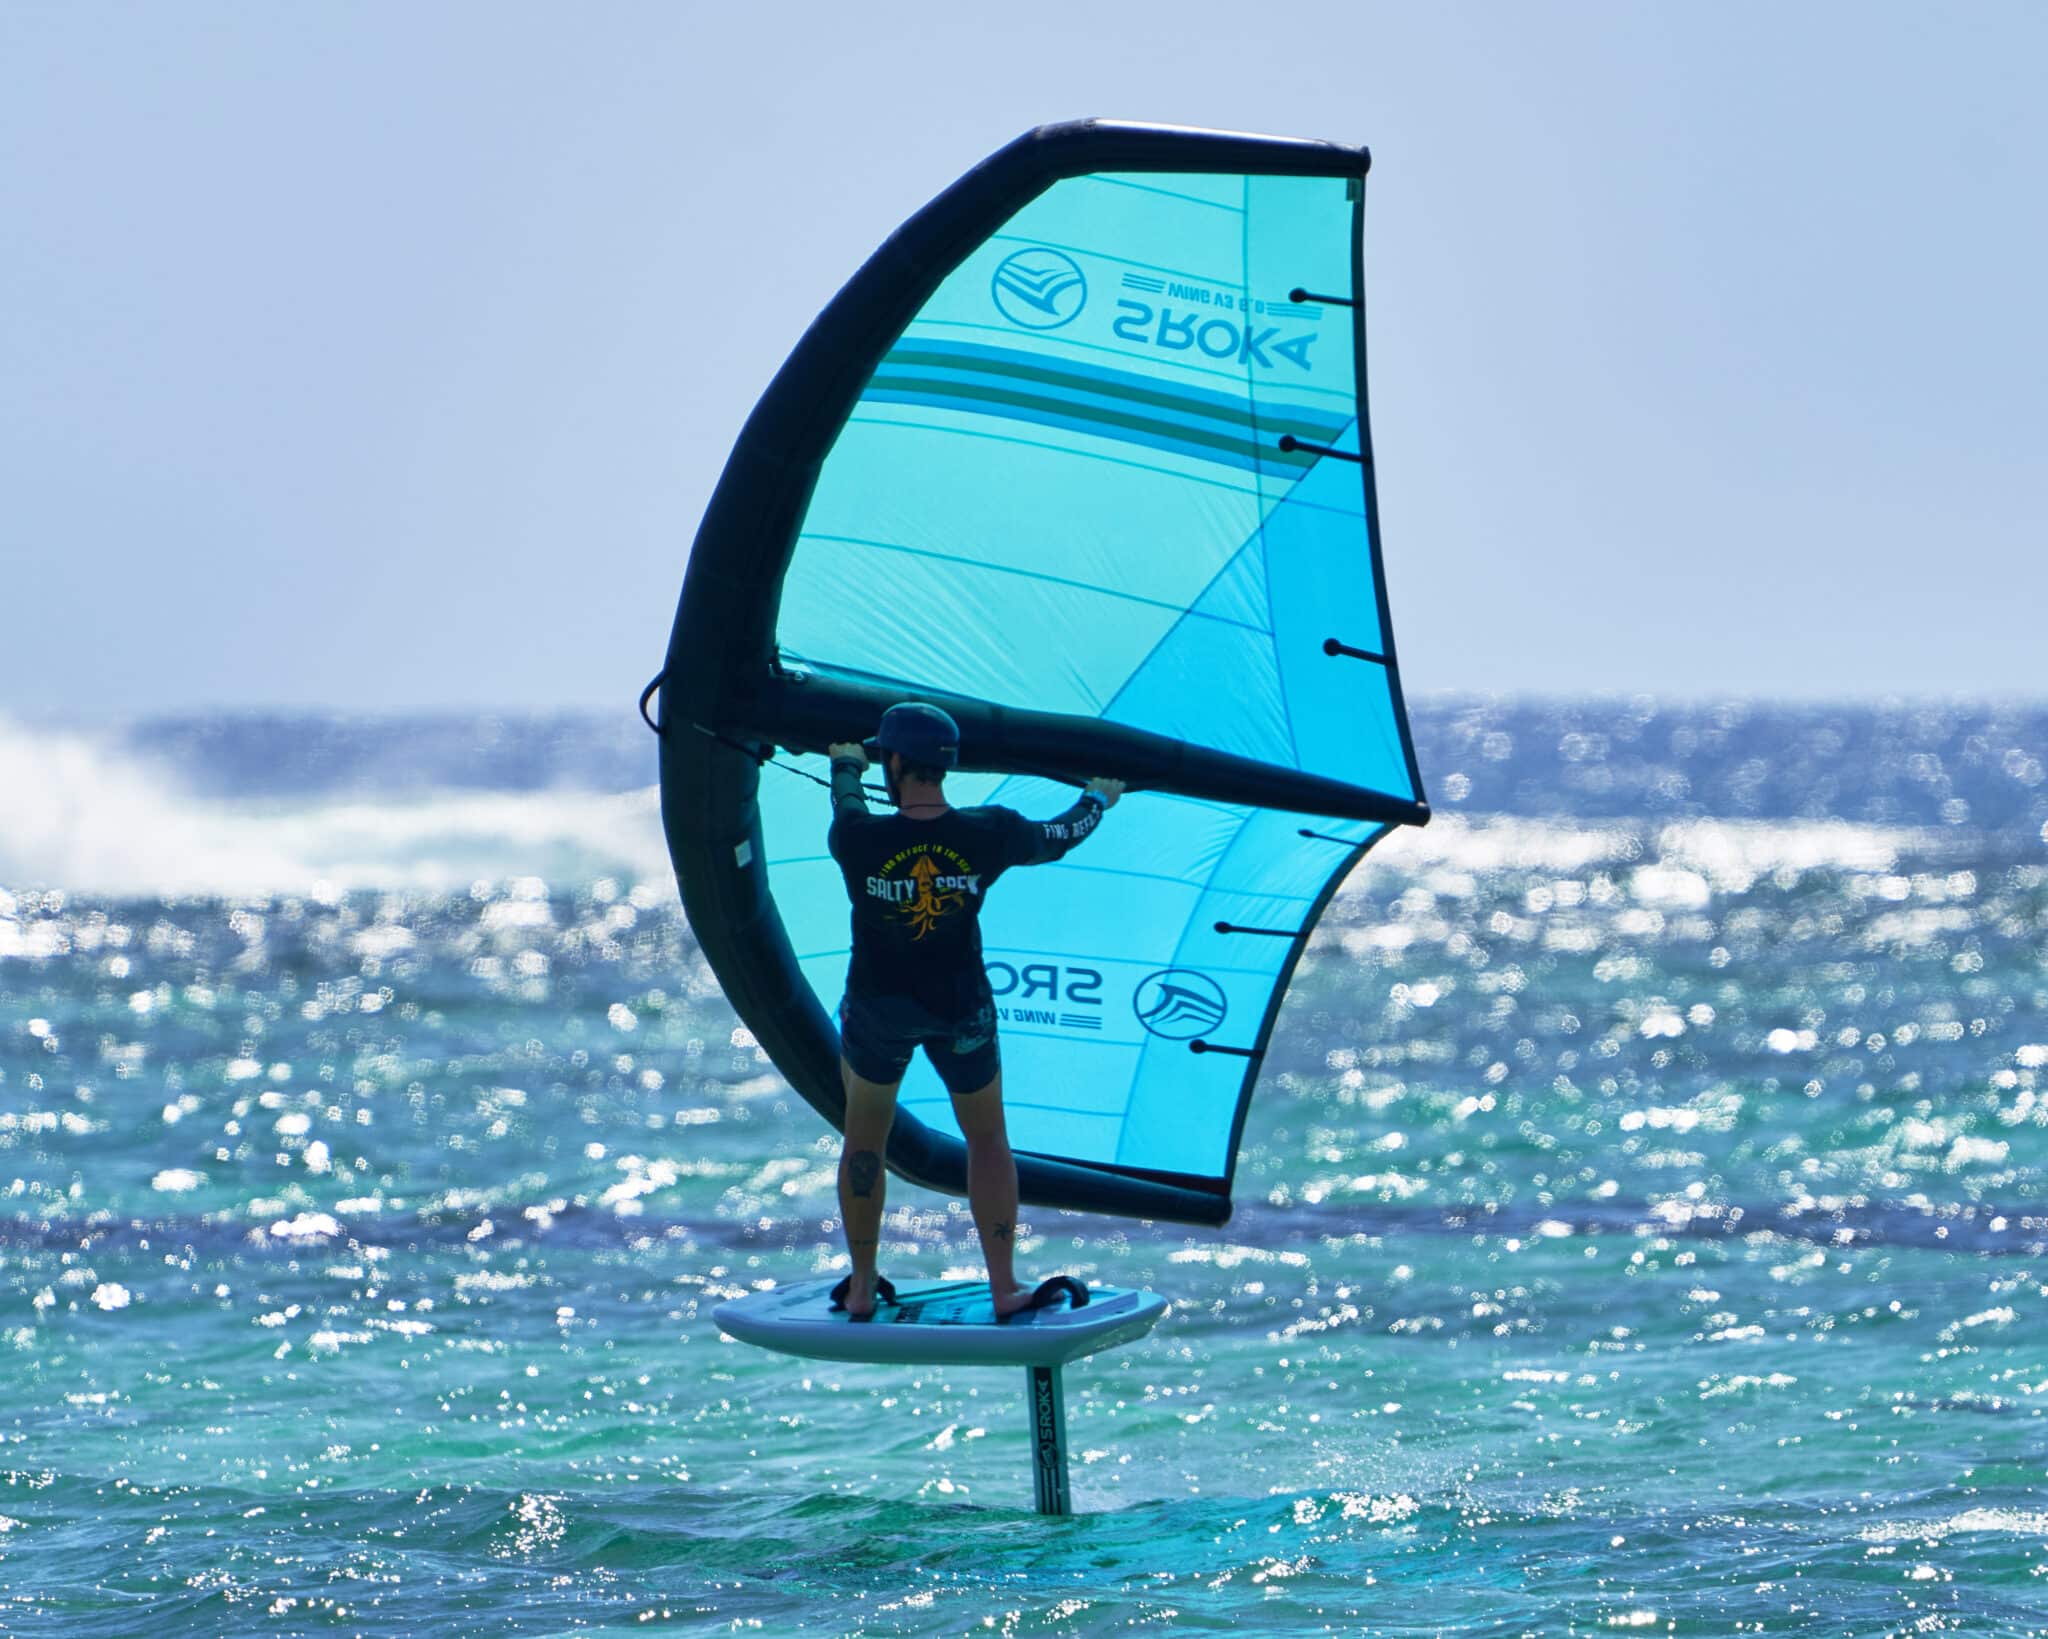
- Be comfortable with wingfoil and master the basics: pulling boards, accelerating, changing direction quickly, balancing on the board in all conditions, jibing, toeside and switch riding.
- Start with the right equipment: To learn how to tack, you need to be sufficiently topped up, if not over-toped, so as to be able to move at a good speed.
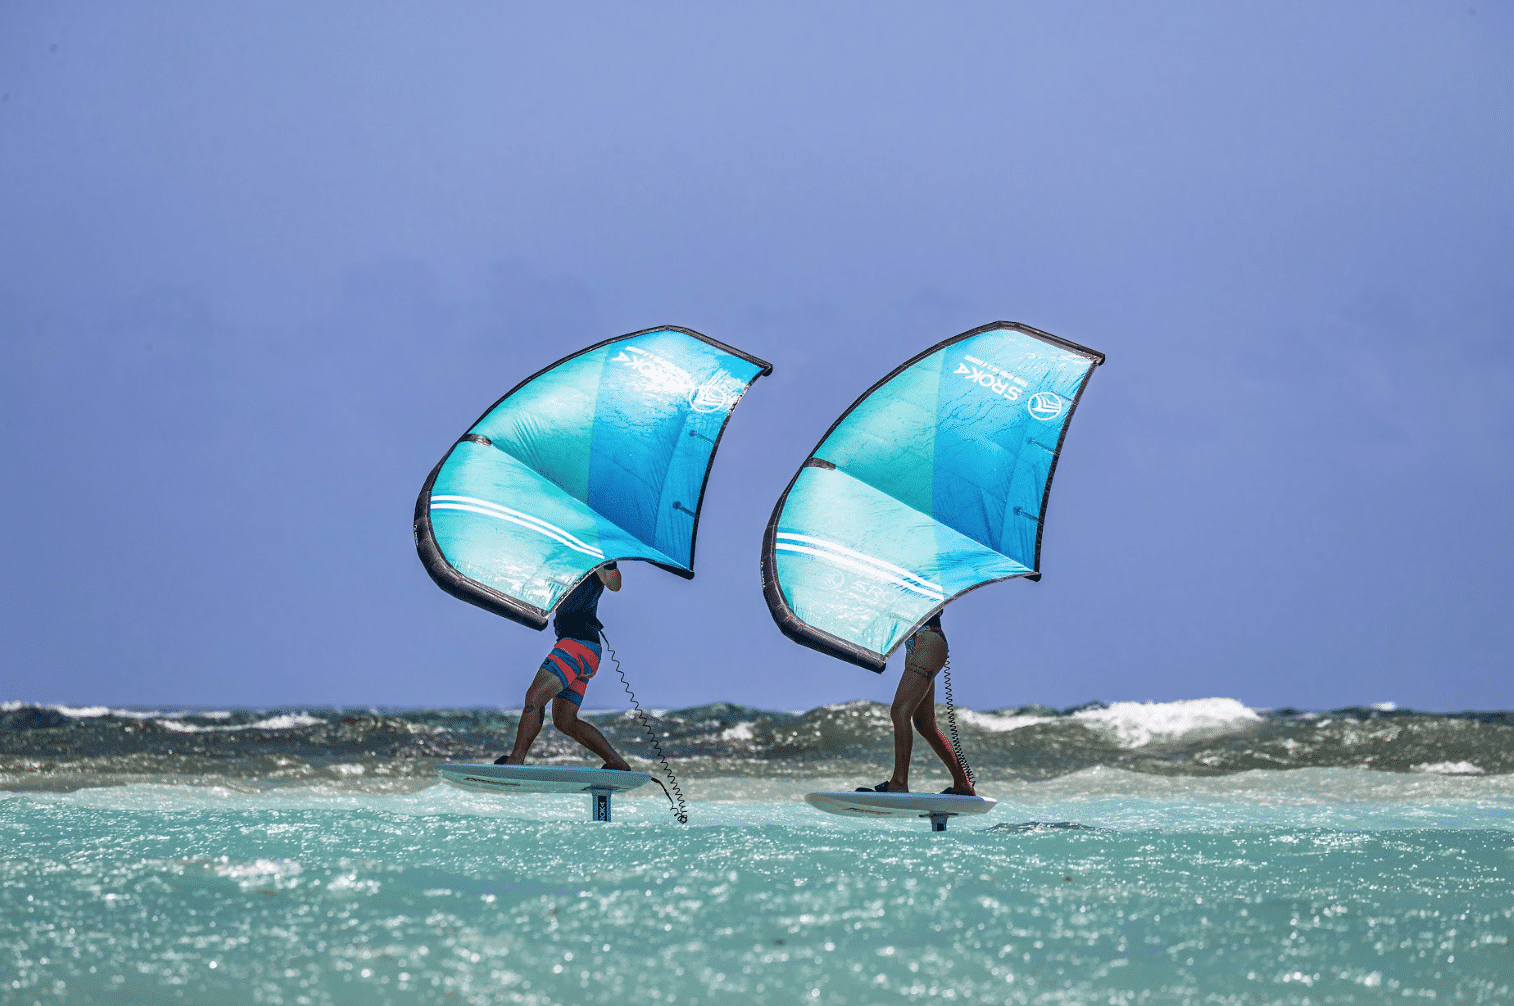
- Learn to tack on calm water: If the water is too rough, you risk creating imbalances and making learning to tack more complicated. So make sure you learn to tack on as flat a stretch of water as possible.

How do I tack on a toeside (frontside)?
This is the easiest technique. It involves a toeside approach, with the chest facing forward and the feet in an inverted position. To perform a frontside tack, you need to invert your feet before starting the maneuver.

Step 1: the approach
To start tacking, you’ll need to arrive at maximum speed, beam to windward.
The next step is to toeside, i.e. to swap feet on the board. To switch feet, we advise you to start by flying low and pushing on your back foot to bring the board up. This will give you more flying time to swap feet, and make it easier to change feet without the board touching the water.

Step 2: initiate the transfer
Now that you’re in toe side, maintain maximum speed and engage the turn by pressing on your toes progressively and continuously. The aim is to tighten the turn more and more without losing too much speed. Your turn will depend not only on your starting speed, but also on the front wing of your foil. Indeed, a wing with a high aspect ratio will force you to make a slightly wider turn, while a faster, more compact wing will enable you to make a tighter turn.

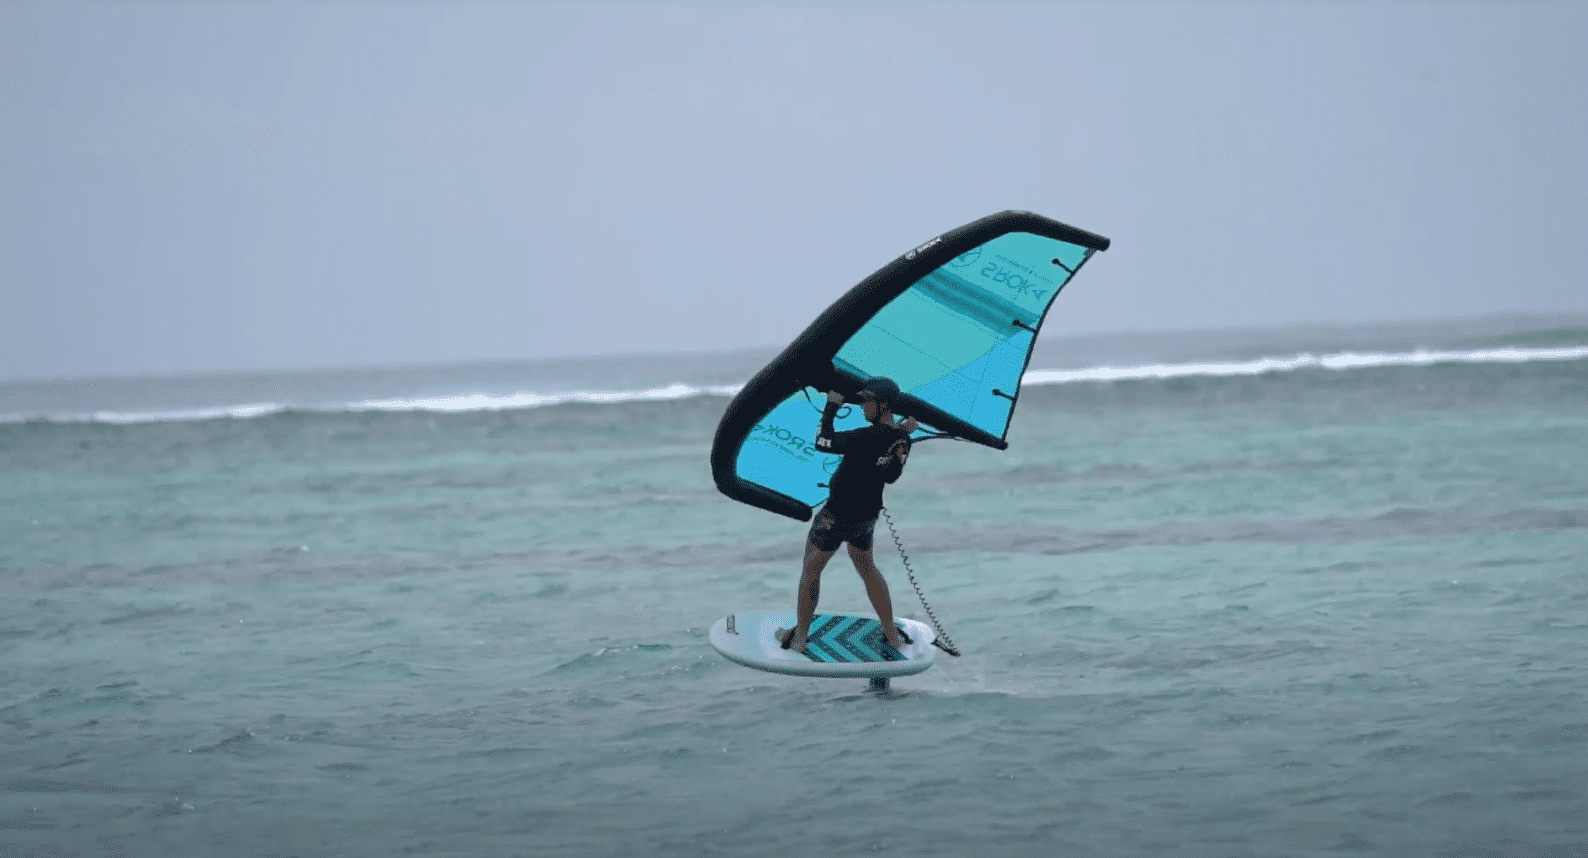
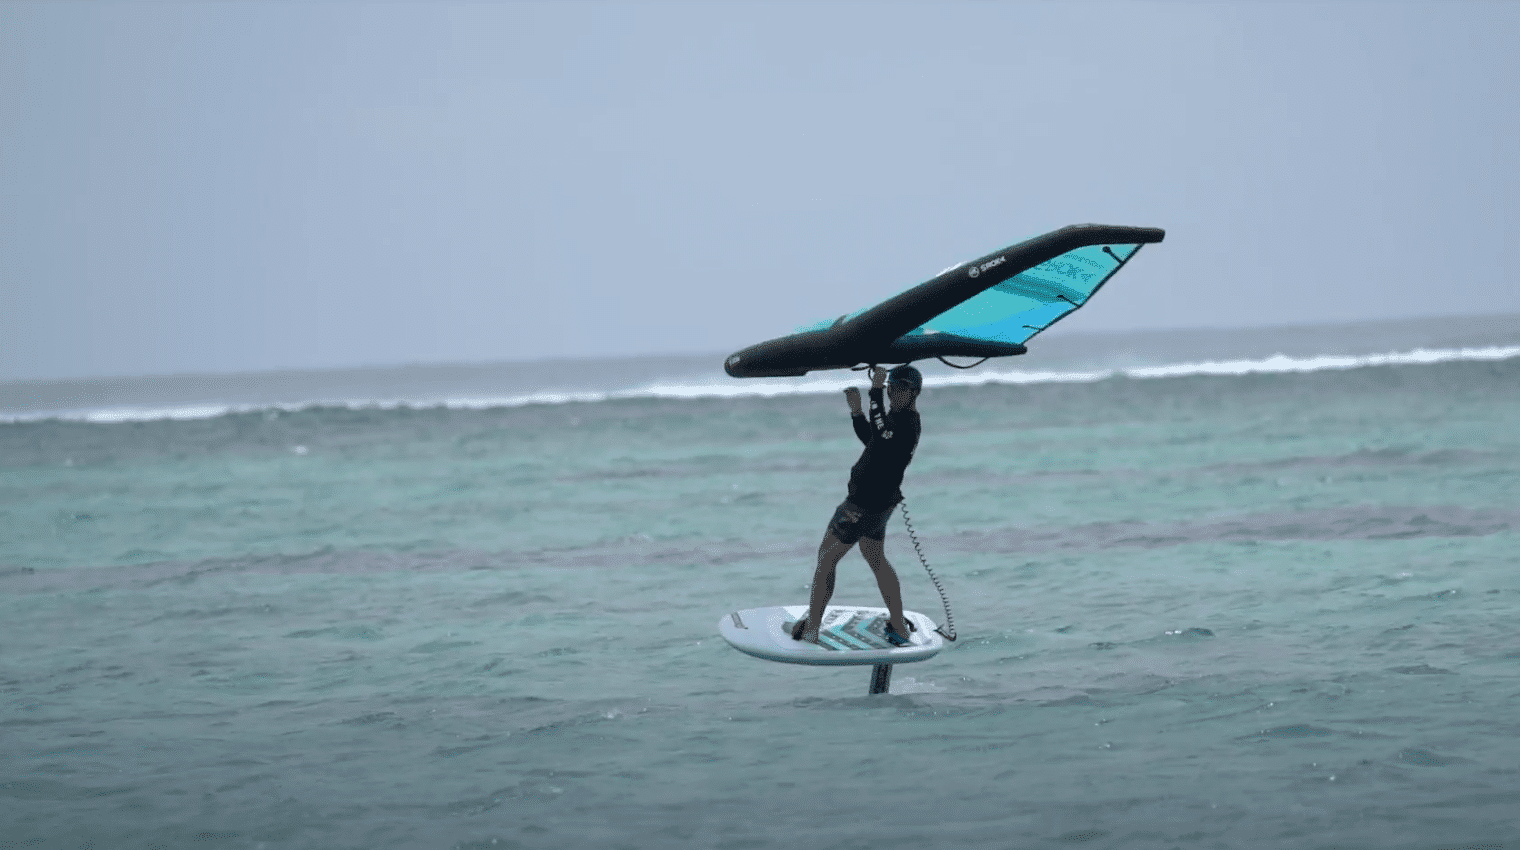
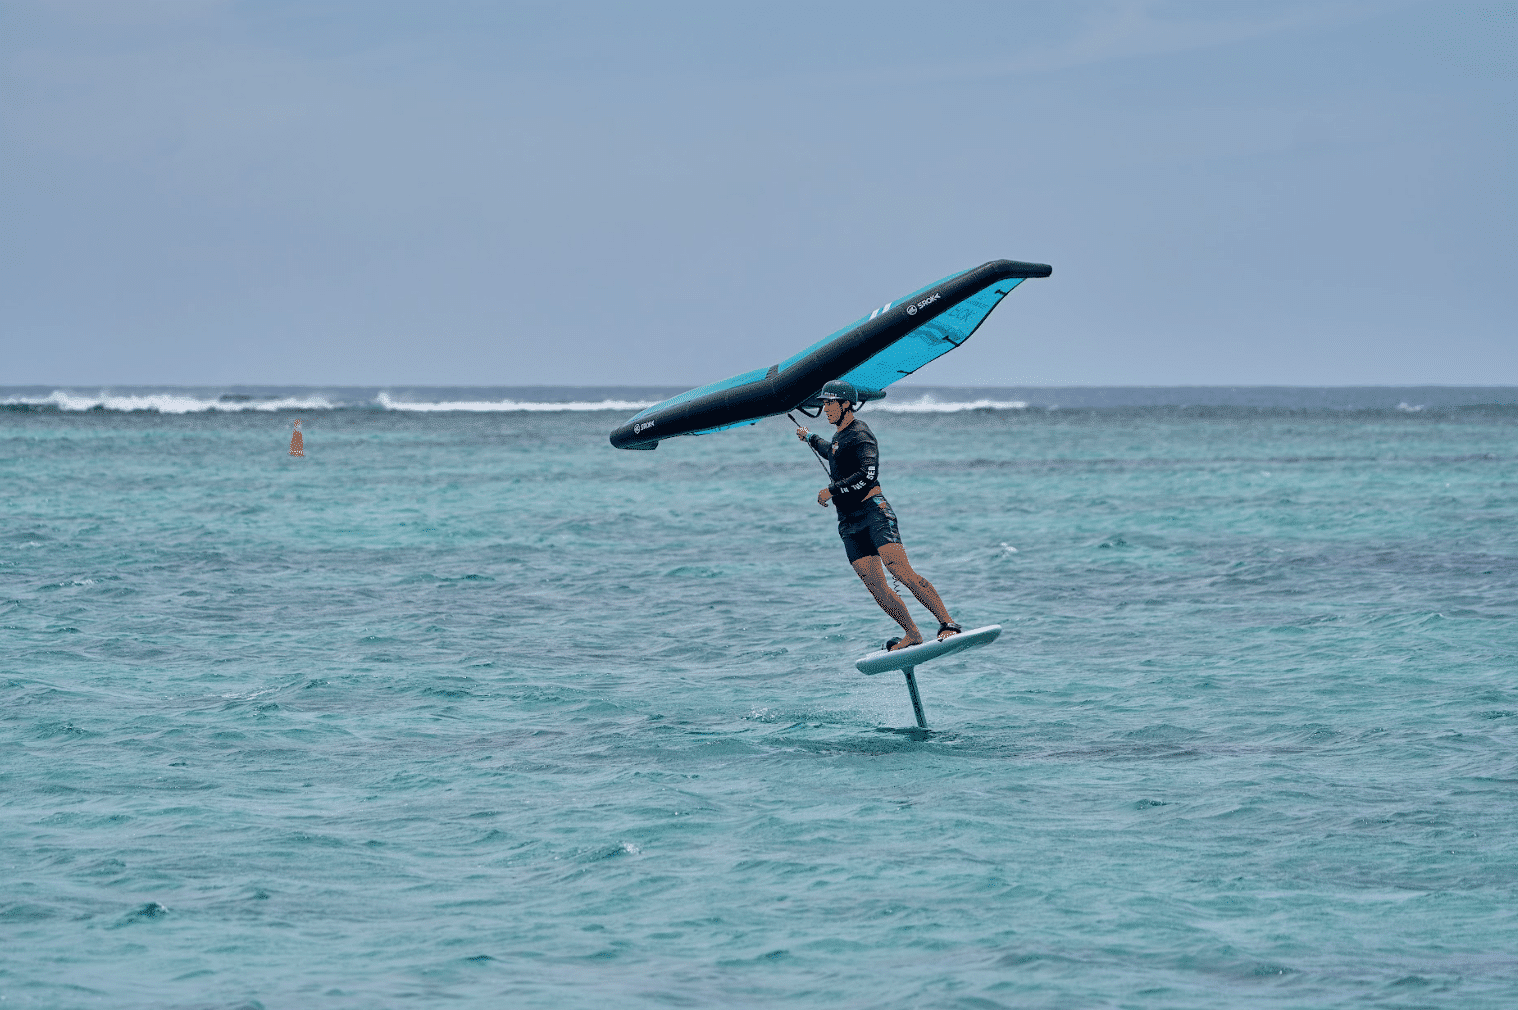
Step 3: Passing the sail overhead
When you arrive close to or slightly ahead of the wind, push the wing over your head. This step is essential to accompany the wing through the tack change. It’s important to position the wing as high above your head as possible.
In this stage, you need to grab the front handle with your new front hand. If you don’t raise the sail enough, the wind may push it down and unbalance you. This is a common mistake.
Step 4: Finishing the operation
To finish tacking, your back hand should quickly grab the back handle, then tuck in the wing, regain power and re-accelerate. Wait until you’ve finished tacking before tucking in. The tack is finished when your board is on the beam or slightly upwind. As long as you’re facing into the wind, don’t tack the sail. We advise you to keep it wide open, as it may slow you down.
Our tip: Just before releasing the rear hand, push on the rear handle to help your front hand tip the kite over your head into the wind.
To tack toeside more quickly, the ideal is to anticipate the hand change and grab the front handle of your wing with your back hand, while staying upwind. This variant allows you to change hands earlier and accelerate the wing’s passage over your head. In this way, you’ll be able to head off in the opposite direction more quickly. The turn is tighter, the maneuver quicker and the loss of speed smaller. It does, however, require very good upper body coordination.
Practicing a tack toeside
- We recommend that you start by practicing toesides on the same edge. Repeat this step several times to get the foot coordination right.
- Then let yourself glide over the foil without leaning on the wing in toeside position. To do this, put your wing over your head and let go of the back hand. Then glide until you touch the water. We advise you to repeat this exercise several times to get the hang of it. The aim is to be well balanced on your supports and your board in toeside position, without using the kite as a support or “crutch”. Keep your body straight over the axis of the foil.
- Once you’re comfortable with the first step, reposition yourself in a toeside position, then lean on the balls of your feet to move towards the axis of the wind. Your gaze should follow the movement. By looking in the direction you want to go, you’ll have more balance and the maneuver will seem easier. Repeat this third step until you’ve passed the wind’s axis and are successfully moving in the other direction. As you gain a little more speed, you’ll be able to stay airborne and begin to do 3/4 of your turn in the air.
With a little practice, these three points will seem easy, and you’ll be able to start tacking by following the four steps outlined above.
To practice, you can also try out all these maneuvers on the beach, walking or on a skateboard, for example. This will give you a better grasp of the different hand positions and actions to be performed with your wingfoil when tacking.
The key to success? Speed of navigation, speed of execution (especially when changing the wing tack) and a constant curve.
How to perform a backside tack?
This tack is a little more technical, as you need to be able to twist your upper body while maintaining excellent execution speed and support precision. In this technique, you start heelside, i.e. with your good foot forward (“normal” sailing). You finish your turn toeside, with the weight of your body shifting to the front leg. It’s a little more complicated than a frontside tack, but with a little practice, anything’s possible!
Step 1: The turn
You need to approach the tack with more speed than a frontside tack. This way, you’ll maximize flight time and get through the maneuver more easily. If there isn’t enough wind, you can pull down slightly to gain more speed for this first step, and then climb sharply upwind.
The turn is initiated by pressing on your heels and leaning your body towards the inside of the turn. You need to press on your heels for most of the curve, until you’ve passed the upwind position. You then need to rebalance the pressure on your toes to keep your balance on the board, otherwise you risk falling backwards.
Step 2: swap your wing
Unlike the frontside tack, here you have to get past the upwind position before swapping your wing. You have to make the most of the curve before sending the wing into the “upwind” position as quickly as possible. The wing is swapped overhead quickly onto the other tack.
Then, unlike the frontside tack, the overhead swap is done with the front hand. Only once the kite has passed the other side can you change hands. The back hand takes the front handle as quickly as possible, and the front hand becomes the back hand by taking the back handle.
When you think you have enough speed you can swap feet on the board.
Important tip: most riders ride with their front hand palm-up, which is fine, but for wingfoil tacking we strongly advise you to point your hand downwards. This makes it easier for the wing to pass overhead.
The key to success?
- Tackle this tack with speed
- Be very precise in your stance, especially when transferring weight from heel to toe.
- Wait until you have passed the windward point before swapping hands on the wing.
- Quick handover.
What’s the best foil for a successful tack?
- The advantages of a foil high aspect front wing: A front wing with a high aspect ratio will have a better glide ratio, so you’ll glide longer once the wing stops pulling. This gives you more time to perform your maneuvers.
- The advantages of foil mid and low aspect wings: A front wing like our range of classic foils will be just as suitable for learning to tack. In fact, their more compact shapes offer greater manoeuvrability. You’ll carve more easily.
In a nutshell
- Choose a calm stretch of water.
- Make sure you’re not in the way of anyone else before starting your tack (look behind you, upwind, before you start).
- Engage your tack with sufficient speed to gain more time in the air.
- Raise your wing well above your head to prevent the wind from pushing it down and towards you (risk of the wing inflating against you).
- Keep your wingfoil open until the turn is complete. Don’t overboost with your back hand.
- Don’t tuck your sail in too early. You need to wait until you’re in the final direction to generate power.
Article you may be interested in