
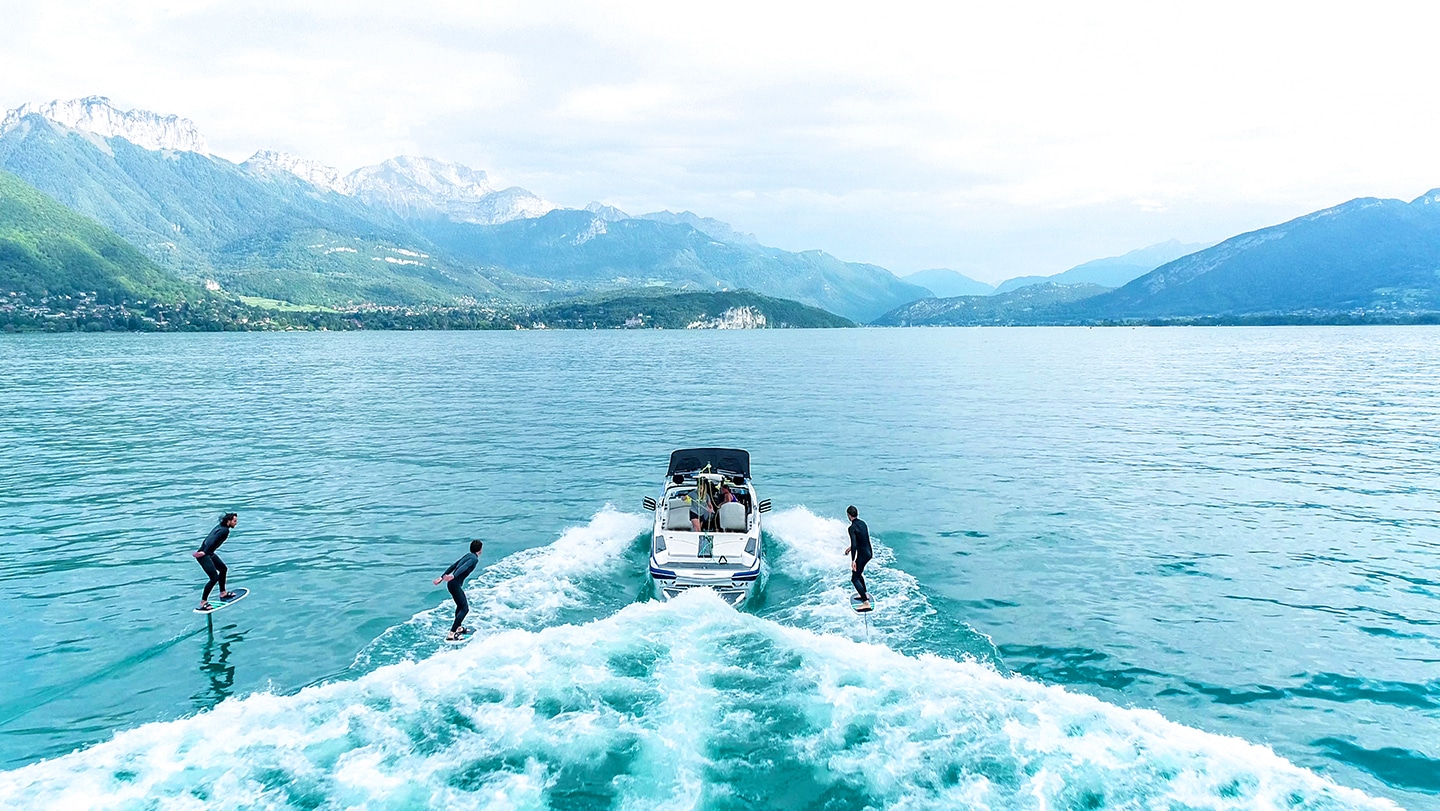
Originally, foiling was mainly used for flying over water in towed surfing. Its democratization led to the emergence of many variants of water sports, including Wake Foiling. Derived from Wakeboarding, this new practice consists of riding a foil on the wake and waves created by a boat. The principle is simple: towed by a boat, the rider gains speed. This speed generates lift, allowing the foil to take off and the rider to fly. Understanding how a foil works is an essential step for successful learning. Find all our information in this dedicated article. Now, all you have to do is learn how to get started with Wake Foiling.
Why start WakeFoiling?
Like all foiling disciplines, WakeFoiling requires a minimum of learning, but remains very accessible to everyone, and at all levels. Progression is rapid: a 20-minute towed foil session will be equivalent to at least 2 sessions in the waves. It is therefore a very encouraging sport, where sensations and skills come very quickly. You will also have time to observe and understand how your foil behaves under your feet. Moreover, this sport will allow you to enjoy the sensations of foiling, Wakesurfing, and surfing. If you are new to foiling, start with Wake Foil, towed behind a boat with a handle (don't try to play in the wake wave at first). You will then learn other practices much more easily, such as SurfFoil, SUPFoil or Wing Foil.

How to get started with Wake Foiling?
STEP 1: THE STARTING POSITION
The start is in the water, at the back of the boat. Position yourself on your preferred stance side. Move away from the boat's wake to avoid disturbing the foil's hydrodynamics, especially with the engine's turbulence. Hold yourself in a squatting position, with bent legs and a straight back. The nose of the board should be pointed towards the sky at the start to lift the board out of the water. You must put pressure on your back leg while controlling the direction of your board with your front leg. The board, submerged in the water, is perpendicular to the boat's axis and the rope. Handle in hand, looking towards the boat, you are ready to go.
When the boat starts, hold the handle firmly in your hands (arms extended), but do not pull with your arms. Let the traction pull you. Shift your weight to your back leg. Your back foot is against the kick, at the back of the board, on the pads. For beginners, this step may require several attempts, to get a feel for the pull and the speed (no need for high travel speed).
Simultaneously, look over your front shoulder and straighten up, keeping your back straight. Your knees should be semi-flexed and your ankles flexible. You will gradually lift the board out of the water.
STEP 3: TAKEOFF
Before taking off your foil, your position should be as follows: standing, knees still semi-flexed and ankles flexible, your torso slightly open outwards and your arms extended.
The board must be kept flat. To do this, you must keep your body weight above the board, by slightly moving your pelvis forward. Once you have found your balance and stability, shift your weight and pelvis to your back leg to lift the foil. Your back foot is placed above the mast, and your front foot at the same distance as your shoulders.
STEP 4: LEARNING TO TURN THE FOIL
While holding the handle in your hand, start making small turns, leaning on your toes or heel. The technique is similar to snowboarding or skateboarding. Press on your toes, the board will turn to one side. Press on your heels, the board turns the other way. Do not lean your torso forward; it should remain as straight as possible above your feet. Understand that it is the whole body that leans, not just the torso. With technique and practice time, you will be able to accelerate your turns by dissociating your front and back feet.
STEP 5: PUMPING
Still holding the handle, you can start making pumping movements. While keeping your board relatively flat, the foil at mid-height, press on your front foot to go down, then on your back foot to go up. Gradually you will feel slack in the rope. Position yourself a little further in the trough of the wave and gradually let go of the handle.
You can then have fun making wide turns, or tighter turns, moving away, then returning to the waves by pumping and moving from the first wave to the second, and so on.
Use your arms by swinging them to give you momentum. The movement must be both forward, to propel you, and upward, to lighten you. The movement must not be up and down, at the risk of sinking the foil. You must keep the foil high, because the higher you are on the mast, the less drag the mast will generate. Indeed, the closer the foil is to the surface, the more efficient your glide and pumping will be.
If needed, you will find all our detailed explanations for foil pumping in this article. Then feel free to return to the boat's waves, carve, then exit the wake again to pump.
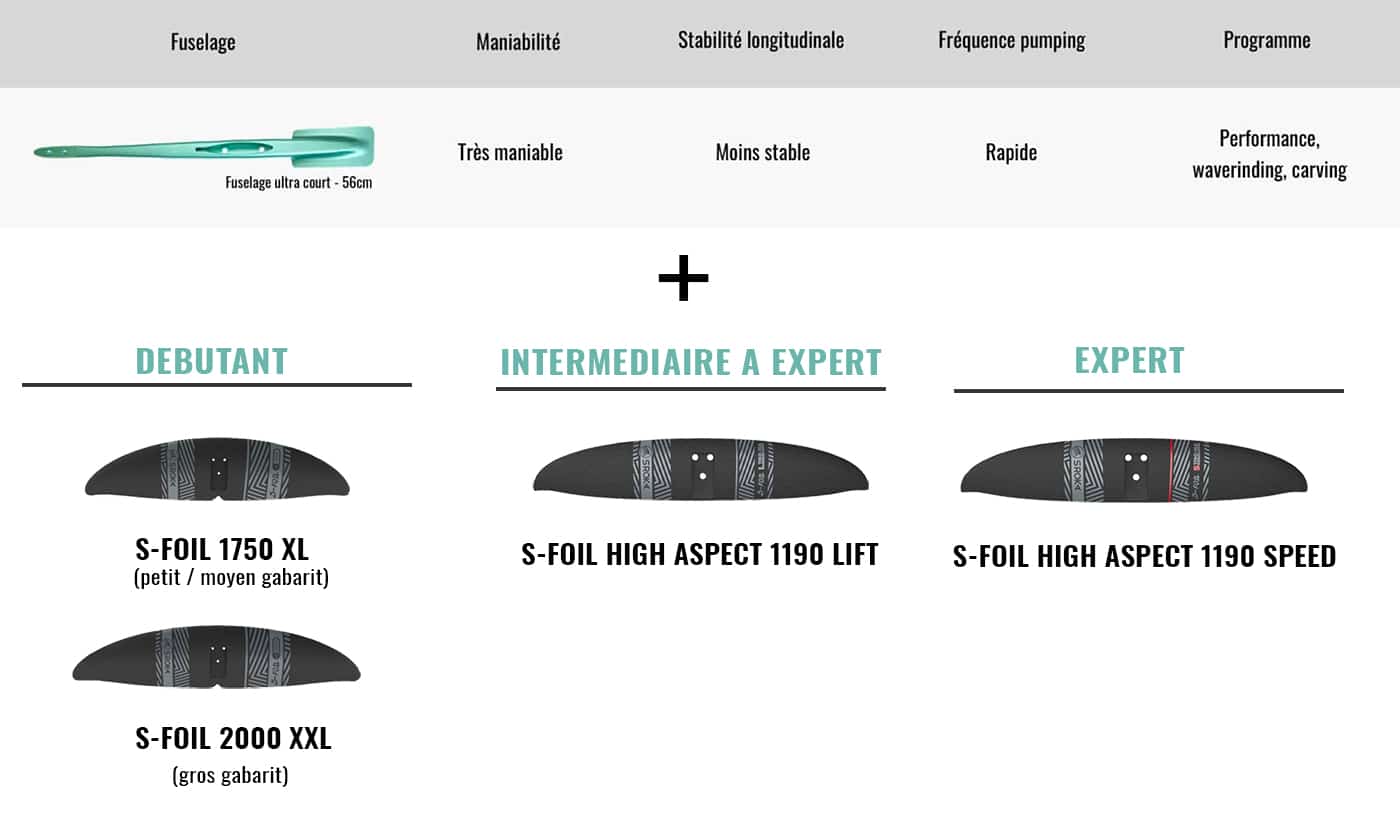
THE THREE BEST QUIVERS FOR WAKE FOILING
To determine the right foil for your Wake Foil practice, several criteria must be taken into account. First, the fuselage. It must be short (62 cm) to ultra-short (56 cm), to have both maneuverability and stability, while having a sustained pumping frequency capacity. The shorter the fuselage, the more maneuverable it will be for tight turns.
Discover all our tutorials on YouTube, or in our News&Tutos section:
- Understanding how a
- surf foil works
- Getting started with Wing Foiling
- Learning Wing Foiling alone or in a club?
- How to jump well in Wingsurf – level 1
- The spot and conditions for starting Wing Foiling
If you still have questions on this topic, or for any other request, do not hesitate to contact us!